Deploy Docker containers fast to Microsoft Azure
DEPLOY DOCKER CONTAINERS FAST TO MICROSOFT AZURE
It’s hard to ignore the fact that Docker is a way to move forward for rapid application development, distributed architectures and microservices.
For developers Docker offers great advantages as they can build their containers specifically for the task they work on. They grab a base image of a container, modify it for their purpose and prepare the functionality inside the container.
Quality, testing and security teams now have a single instance to look at and ensure all functional and regulatory requirements are met. System engineers now don’t have to worry about providing a system with the required specs as the container is already provisioned for that purpose.
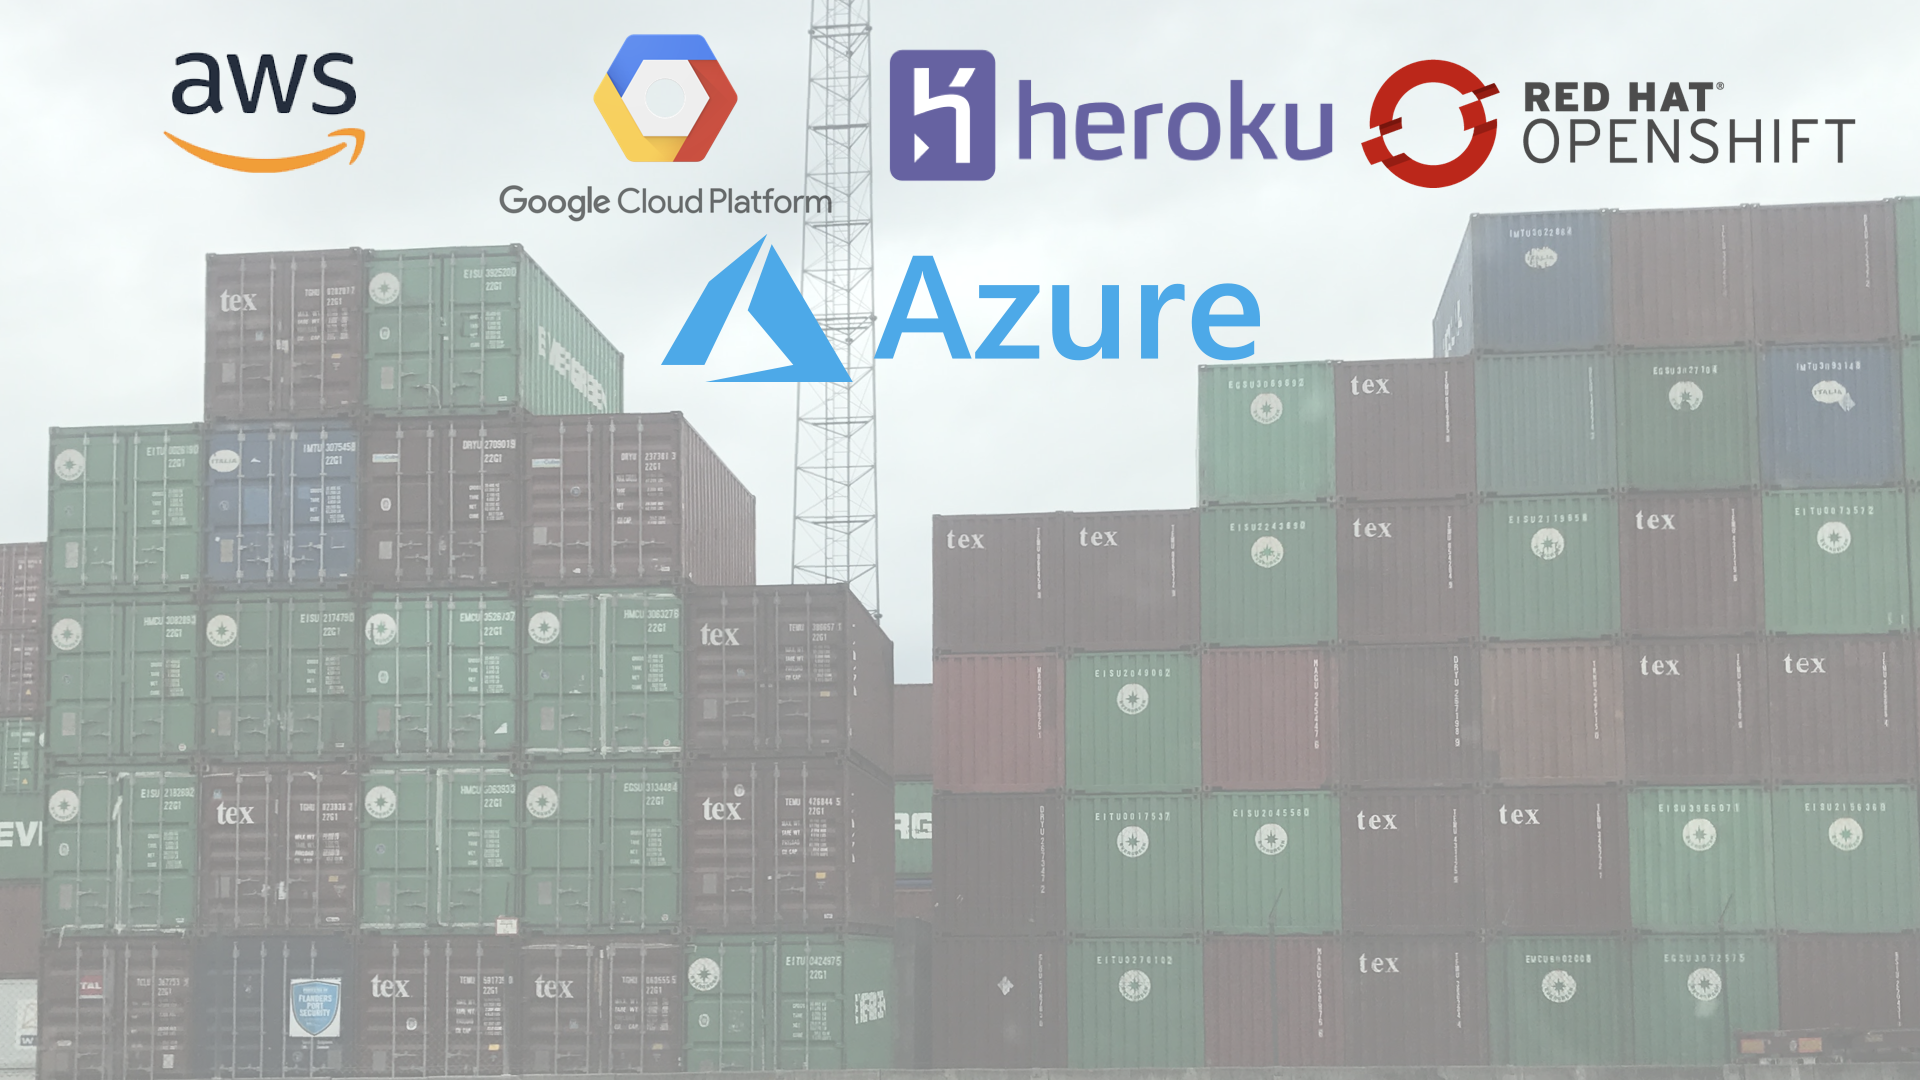
But where do you deploy your Docker containers? You can set up your existing bare metal infrastructure to allow them to run containers, but this also means you need to learn about securing your container infrastructure, which is not an easy task. Luckily “the cloud” offers container services like Google Cloud, RedHat OpenShift and Heroku. The most popular cloud solution providers are also stepping into the game of containers. Amazon Web Services offers Elastic Container Services that allows you deploy your Docker containers directly on their infrastructure.
In this article I’m looking at how to deploy Docker containers on Microsoft Azure. For one because I’m a true fan of their cloud solutions, but also because they truly offer a solution that allows me to take an existing container application “as is” and deploy it into their cloud infrastructure using the command line, without having to add additional configurations in my application code base.
Preparation
Docker container software
To follow along in this tutorial you need to have Docker installed on your computer. If you don’t have it yet, you can download the community edition for your platform of choice at www.docker.com/community-edition.
Microsoft Azure
You also need to have a Microsoft Azure account. If you don’t have one yet, sign up for a FREE account at azure.microsoft.com/free/.
I’m using the Microsoft Azure CLI SDK as this allows me to automate the build and deploy my containers using my terminal. Read the details on how to install it at docs.microsoft.com/cli/azure. The examples in this blog post are using this CLI SDK.
Demo application
The example application is build using basic PHP and uses a SQLite database. The source code is available on my GitHub account. In order to run the application, we use the vanilla PHP Docker image.
ACI HelloWorld app is available on DragonBe/aci-helloworld.
I’ve based this demo app on the example given on the Microsoft Azure Documentation portal “Create your first container in Azure Container Instances” and modified it a bit for specific PHP purposes and added a bit more useful example app.
Getting started
Once you have completed the preparation step, it’s time to get our hands dirty.
Link your Azure SDK to your Azure subscription
Before we can get started, we need to make sure that we’re using the correct Microsoft Azure account. The best way would be to log in your account on the command line.
If your installation was successful, you will see the following output. Of course, your code will be different.
This will launch your browser. If you’re not yet logged in for Microsoft Azure, you need to provide your credentials first.

Next it will take you to a web page where you can enter your code.

Once verified with Microsoft, you'll get to see your subscription details back into the command line interface.
Create a resource group
The easiest way to manage your applications is to define a resource group. The purpose of this group is to have all related applications grouped together so it’s easy to enable, scale and disable them referencing a single group name.
The name for this resource group needs to be unique, so be creative. I was lucky to find
aciDemoApp not being used yet, but it could be that the chosen name is already taken. Adding a prefix of your company or a postfix with current date and time can also do the trick. Be creative!
Once the resource group is created, you'll get again a confirmation in your command line interface.
Create an Azure container registry
Because we need to make our image available for Microsoft Azure we create our own container registry.
This command will create an Active Directory account on Microsoft Azure and assigns permissions for your application to access the registry.
Log in into your Azure container registry
Before we can create our container images and push them into our newly created container registry, we need to login into the Active Directory we just created.
This will return you a successful status message.
Prepare your docker setup
Up until this point we have only set up our Microsoft Azure account to accept our containers. But we need to have our containers defined in the first place. So here we’re going to ensure everything is working locally before we push it into the cloud.
Build and run locally
The easiest way to figure out if your Docker container is ready is to build and run it on your workstation.
Once the build is complete, we can run it to see if everything is working.
Make sure the image is available
Should provide you a listing of your current running apps
Tag your image with the Azure Image Registry
Use the following command if you need to find your registry URI that you’ll need to push your image to.
This will give you the URI you can use for tagging your image
Now tag your image and make sure you also provide a version (like
v1) as this will make it easier in the future to scale your application and have clean deployments of your application containers in the cloud.
Check again your Docker images to see the tag being applied correctly.
Push your Docker image to Azure registry
Now it’s time to push our tagged container image into the Microsoft Azureregistry.
This might take some time to push your whole image upstream, but once it’s complete you should receive something similar to this.
Enable administrative rights on the registry
We now enable administrative permissions on our registry so we can actually deploy our container.
Get the password needed for deployment
We need to provide a password to run our container on Microsoft Azure cloud. Retrieving it is as simple as querying ACR credentials.
Will return something like this. Make sure that you keep this password SECRET as this is your administrative account. You can also use Microsoft Azure Key Vault for managing these privileges, but that’s material for another blog article when we discuss identity management.
Deploy your docker container
Finally we can deploy our container into production on Microsoft Azurecontainer services.
This command creates the application container and starts running it. In the details you get back from the service you get full details about your deployed container.
To get the status of your container you can use
az container show --resource-group aciDemoApp --name aci-tutorial-app --query instanceView.state, which will return you the status.
Immediately after you’ve started your container, your container needs to boot up.
But shortly after you’ve deployed your container, you’ll see the status indicating everything is a go.
To get the IP of your container use
az container show --resource-group aciDemoApp --name aci-tutorial-app --query ipAddress.ip
Now you can point your browser to 40.68.171.88 and you should see your web application smiling back to you.


See the log output of your container
This will give you insights into the container activity
In your Microsoft Azure Portal you can see the container resource group up and running with a whole bunch of more details.

Updating your container
No project is perfect the first time. Neither are your services you put inside a container. Updating your container is just a matter of tagging a new version and putting it live.
To make it easy for you I’ve provided a branch called “update” so you can go immediately started.
Now we just go to localhost:8000/books to verify our affiliation links are there.

Now that we’ve verified everything is working, it’s time to tag it again and push it upstream.
It could be your session got timed out, the following message will give you more details.
To login again, the following statement will help you further.
This should give you a success statement.
The moment authentication is again approved, you can now safely push your container upstream.
Again a new checksum will be calculated and returned.
Now it’s time to upgrade the container.
Notice we used the same password as before, but this time we’re using
acidemomvp.azurecr.io/aci-tutorial-app:v2, our updated container tag.
This means that your container is updated, using the same IP address as we had before. Point your browser to 40.68.171.88 and see your updated application running as a container on Microsoft Azure.


Destroy your container
It will ask for your confirmation
Next articles in the pipeline
Now that we have learned how to get a basic Docker application deployed on Microsoft Azure, let’s dig a little bit deeper in how we can fully utilise the services provided by Azure.
This are a few articles I’m working on, so come back regularly to learn how you can easily deploy applications on the cloud using Docker and Microsoft Azure.
- Storing data and files outside of your Docker containers
- Deploying a distributed architecture on Microsoft Azure
- Securing your applications with Microsoft Azure Key Vault and Docker
Please leave feedback and let me know if this tutorial was interesting and what you like to see in the future as well.


Thank you for the article. I was having trouble with the Azure web interface and the CLI commands you provided were easy to follow and got me started. Many thanks!
ReplyDeleteThanks
ReplyDelete